Burlap Canvas Clock
When I spotted these burlap canvases from Michaels, I thought they were really cool. I knew I wanted to create a project with them. They are available in select stores on the Pinterest In-store Featured Endcaps. While normally I buy all of my supplies for projects that I make, Michaels provided me with the supplies to create this project. (though I have gone and bought more canvases!)
 |
Time Clock Collage
Materials:
Burlap Canvases (4x12, 2 - 6x6)
Art Minds Clock Movement Kit
Art Minds Clock Face Dial
Art Minds MDF Letters (TIME)
Tim Holtz idea-ology Clock Faces
Tim Holtz idea-ology Game Spinners
Tim Holtz idea-ology Brads
Americana Mixed Media Stencil (Timeless Treasures)
Acrylic Paint (brown)
E6000 Adhesive
Martha Stewart Sponge Pouncers
 The letters pictured here are white, but I decided black looked better, so I used them instead.
|
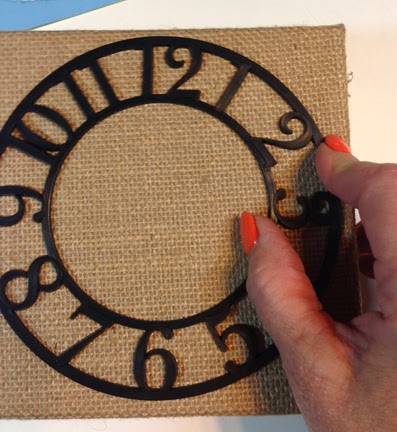
1. Adhere clock face to center of 6 x 6 canvas
2. Poke hole in center of canvas
3. Insert clock movement, following directions on package
4. Stencil design on other canvases
5. Glue letters to 4 x 12 canvas
6. Glue metal clock faces
7. Attach game spinners with brads to center of clock faces